

BasementsGuide 6 of 8
Insulating basement walls without trapping moisture
From Below the Sill · belowthesill.com/basement-finishing/insulation/
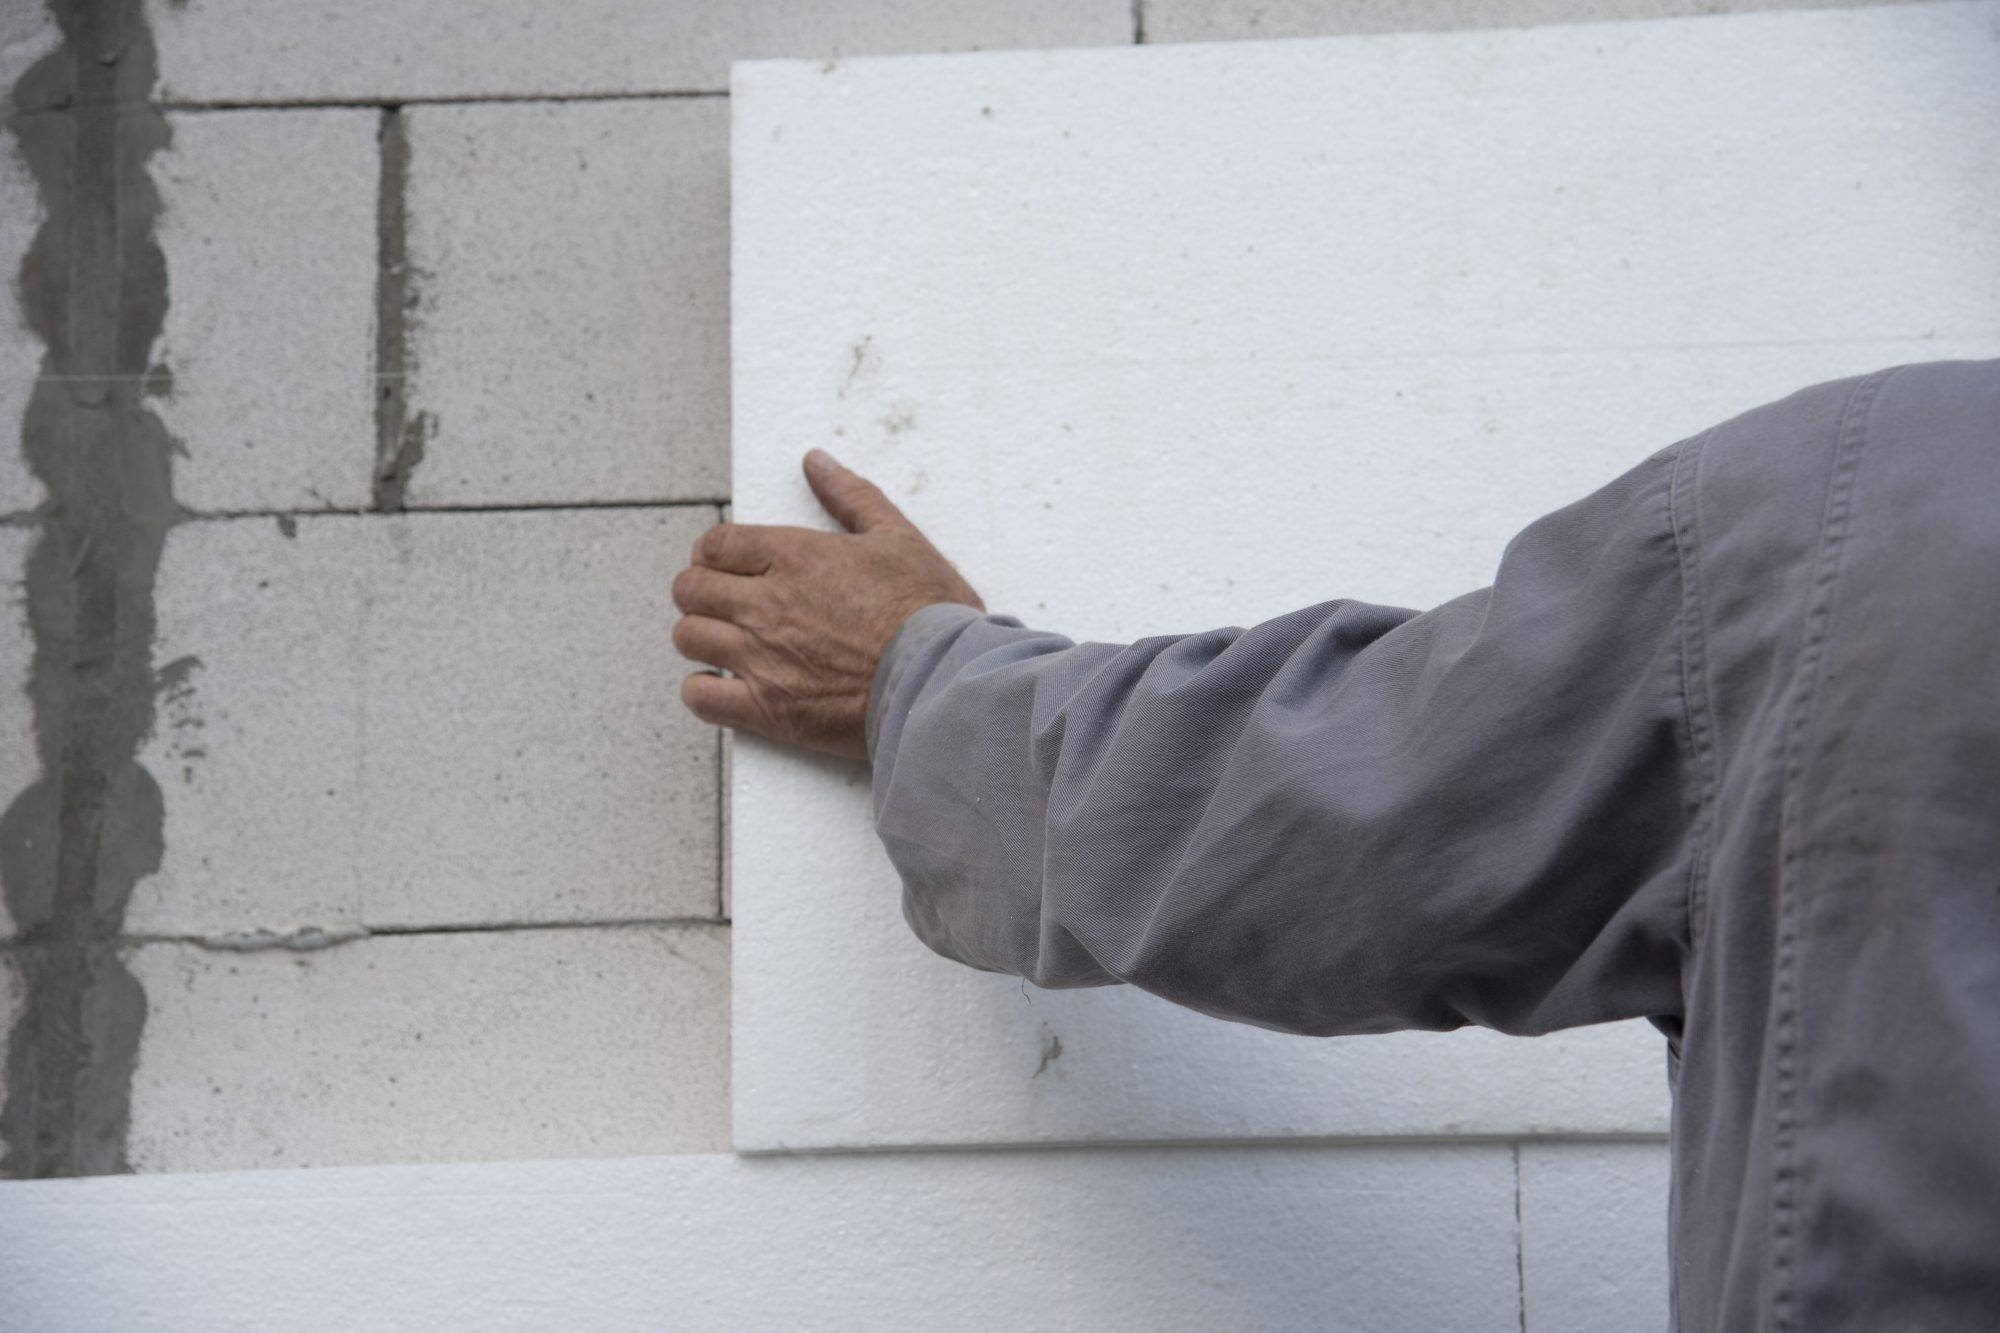
Short answer
Insulate basement walls only after you’ve dealt with water and condensation. On dry concrete or block, I’d use continuous rigid foam with all the seams sealed, or closed-cell spray foam specified for the job, with the finished wall built inside it. Don’t put fiberglass against the concrete and then cover it with plastic and drywall: that holds moisture. How much insulation you need depends on your climate zone and the code your town has adopted.
On this page
- Before you insulate: water and condensation
- The best insulation for basement walls
- Rigid foam, spray foam and stud walls compared
- Why fiberglass against concrete causes problems
- How much insulation: R-values by climate zone
- Insulating the rim joist
- Insulating the basement ceiling instead
- Fire protection and code basics
Before you insulate: water and condensation
Insulation doesn’t fix a leak. If water gets through the wall, it ends up behind the new finish, where you can’t see it. Concrete and block also stay cold in summer, so humid basement air can condense on them. Before I close up a wall, I check:
- The history. When it rains, where water has come in before, pipes and other openings through the wall, and active leaks. The outside too: grading, downspouts and drainage.
- The wall itself. Stains, white salt deposits (efflorescence) and surface dampness. Moisture meters help, but many only give relative readings on masonry, not real values.
- Condensation risk. Indoor temperature and humidity, and the temperature of the wall’s surface, to estimate whether it’s near the dew point. Our dew point calculator does the math.
- The slab. How damp it is, and whether the flooring you want can handle it.
- A plastic sheet test, in some cases. Tape a small square of plastic to the wall and check it after a while for moisture underneath. It’s a clue, not a measurement: it doesn’t tell you how much moisture moves through the wall, and it doesn’t replace proper moisture testing.
- Radon, combustion appliances and other systems, if the project changes how the basement is closed off or used.
Plastic is something I use to test for moisture, not something I’d install on the inside of a basement wall to solve dampness. If the wall is wet, start with our guides to water in the basement and basement humidity.
The best insulation for basement walls
On poured concrete or block walls that are dry and under control, I prefer:
- Continuous rigid foam against the wall, with the seams sealed, then a permitted finish, or
- Closed-cell spray foam, specified correctly for the job.
You can also put continuous foam on the concrete and build a stud wall inside it, with mineral wool or fiberglass in the cavities. Just don’t let the fiberglass or mineral wool touch the cold concrete.
What I don’t like to see: a wood stud wall built tight against the cold wall, fiberglass touching the block, and plastic on the inside that keeps the wall from drying out. The Department of Energy’s Building Science Education program says polyethylene sheeting shouldn’t be used on the inside of fibrous insulation in basements and crawl spaces.
- Continuous rigid foam, seams sealed, then drywall. The first surface warm air reaches stays warm.
- Rigid foam on the concrete, then a stud wall with batts that never touch the concrete.
- Batts against cold block, plastic on the room side, drywall: moisture condenses on the wall and can’t dry out. Mold shows up on the back of the drywall and the bottom plate.
Rigid foam, spray foam and stud walls compared
| Assembly | How it works | Watch for |
|---|---|---|
| Rigid foam against the wall, seams sealed | Keeps the first surface warm, so humid air doesn’t reach cold concrete | Needs an approved thermal barrier over it, usually drywall |
| Closed-cell spray foam | Insulates and air-seals in one layer, filling irregular walls | Cost; the right product and thickness; still needs a thermal barrier |
| Rigid foam + stud wall with mineral wool or fiberglass | Foam handles the cold surface; the stud wall holds more insulation and wiring | The batts must stay off the concrete; no poly sheet on the inside |
| Fiberglass batts against block, poly sheet, drywall | Common in older finished basements | Traps moisture between layers; the classic setup behind mold |
Why fiberglass against concrete causes problems
The risky combination is always the same: a porous wall that gets water or condensation, wood, fiberglass or paper-faced drywall against it, and no way for it to dry. That’s where I find mold: on the back of paper-faced drywall, on wood bottom plates, in fiberglass, in corners and where the wall meets the floor. Foam won’t stop water from getting in, either. If the drainage keeps failing, the damage can show up somewhere else.
If you open a wall in an older house and find materials that might contain asbestos or lead paint, stop and have them evaluated before you disturb them.
How much insulation: R-values by climate zone
There’s no single R-value you need across the states where we work. It depends on your climate zone, which code your town has adopted, whether it’s new construction or a remodel, and the options the code allows. As a reference, Energy Star’s recommendations, based on the 2021 International Energy Conservation Code, are:
| Climate zone | Rigid foam (continuous) | or batts in a stud wall |
|---|---|---|
| Zone 3 | R-5 | R-13 |
| Zones 4A and 4B | R-10 | R-13 |
| Zones 4C and 5–8 | R-15 | R-19 |
The climate zone is assigned by county, and some states span two or three zones. Your local building department can tell you yours, and its table and its rules for renovations are what count.
Insulating the rim joist
The rim joist, the band of wood that sits on top of the foundation wall, is a big air and heat leak. You can cut rigid foam to fit each bay and seal it around the edges with caulk or foam, or use a suitable spray foam. Before you close it in, check for water coming in from the siding, for pests and for the condition of the wood. Seal the penetrations, but don’t cut off air that combustion appliances need, and meet the fire code requirements. Our guide to sill plates and rim joists explains what to look for.
Insulating the basement ceiling instead
Insulating the basement ceiling, which is the floor above it, makes sense when you won’t heat or cool the basement and there’s a complete thermal and air separation between the basement and the house. The floor becomes the boundary, so you insulate it, seal the openings and plan access to plumbing and wiring.
If you use the basement as living space, or it holds equipment you want to keep warm, insulating the walls is usually the better choice. Either way, plan how to keep pipes from freezing, and how you’ll handle humidity and ventilation.
Fire protection and code basics
Foam plastic insulation, sprayed or rigid, generally needs an approved thermal barrier over it on the living-space side, usually equivalent to 1/2-inch drywall, under section R316 of the International Residential Code. There are exceptions for some crawl spaces and for products or assemblies with an approved evaluation. An “ignition barrier” and a “thermal barrier” aren’t the same thing. Get the documentation for the product you’re installing, and check with your local code official before you leave any foam exposed.
For the rest of the project, see basement finishing: what to fix before you start.
Who wrote this guide
Written by
Licensed contractor in Virginia who specializes in moisture, water, mold and radon.
- Five IICRC certifications, including Building Moisture Inspection and Mold Remediation Specialist
- Virginia contractor license, Residential Building Contractor (RBC) class
- NRPP certified Radon Measurement Professional (2018) and Radon Mitigation Specialist (2020)
- EPA RRP Certified Renovator (lead-safe renovation)
Below the Sill is independent and educational. We don’t provide inspections, engineering or repair services, contractor referrals or estimates.
Share this guide
All 8 guides in Basements
Basements topic pageA seasonal check, by email
Four emails a year, before each season changes: what to look at in your basement, crawl space and yard, and the guides we’ve published since the last one.
Sources
- Energy Star, Recommended Home Insulation R-Values (opens in a new tab) (based on the 2021 IECC). Checked October 2026.
- U.S. Department of Energy, Building Science Education, Understanding Vapor Retarders for Basements (opens in a new tab). Checked October 2026.
- U.S. Department of Energy, Building Science Education, Insulating and Sealing Rim Joists (opens in a new tab). Checked October 2026.
- U.S. Department of Energy, Building Science Education, Insulating Floors over Unconditioned Space (opens in a new tab). Checked October 2026.
- International Code Council, 2021 International Residential Code, Section R316 (foam plastic). Cited generally; the full text requires a subscription.
R-values checked October 2026. Field cases come from Robert Stulpt’s own work; each names only the state. Your local building department decides what code applies.